Module 2: Sanitation & Lash Prep
Understanding Lash Styles
-
Cat Eye
The Cat Eye style creates an elongated, lifted look by gradually increasing lash length toward the outer corners of the eye. This style is perfect for clients who want a dramatic, sultry effect or who naturally have almond-shaped eyes. However, it’s not always ideal for very round or downturned eyes, as it can exaggerate those shapes.
-

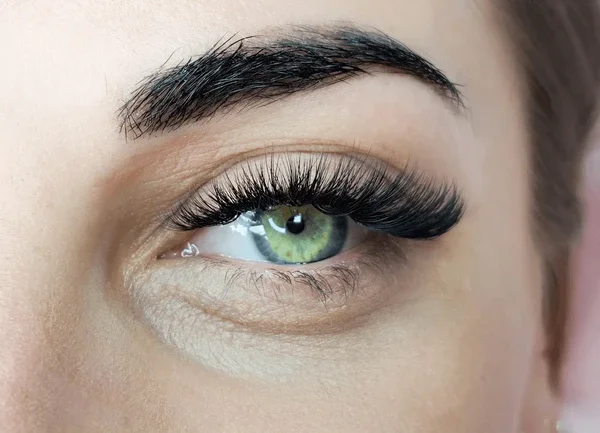
Doll Eye
The Doll Eye (also known as Open Eye) style places the longest lashes in the center of the lash line, tapering down toward both inner and outer corners. This opens the eyes, making them appear bigger and rounder. It’s an excellent choice for clients with smaller or hooded eyes who want a wide-eyed, youthful effect.
-

Natural
The Natural style follows the client’s existing lash growth pattern, using subtle length variations to enhance without dramatically changing their look. It’s ideal for everyday wear, clients new to lash extensions, or those who prefer a softer, low-maintenance result.
👉 Pro Tip: Lash styling should always be adjusted to your client’s eye shape, lash health, and desired outcome. Sometimes combining elements from different styles creates the most flattering look.
Lash Mapping
Lash mapping is the process of planning and marking out lash lengths before application. By drawing the map directly onto the eye pad, you ensure consistency, symmetry, and a design that flatters each client’s unique eye shape.
Download Lash Map PDFs Here:
-
Use a fine-tip marker to sketch your lash design directly on the under-eye pad. This acts as your guide during application and keeps lengths consistent across both eyes.
-
A common sequence is:
Inner corner → 8mm
Middle → 12mm
Outer corner → 10mm
Adjust these numbers based on style (Cat Eye, Doll Eye, Natural) and the client’s natural lash length.
-
No two clients have the same eye shape. Always adapt your map to enhance the client’s features:
Wide-set eyes → keep inner lashes slightly longer
Close-set eyes → extend outer corners
Round eyes → soften with tapered lengths
Taping Techniques
Apply Under-Eye Pads Securely
Place gel pads about 1–2 mm below the waterline so they don’t touch the eye itself.
Smooth the pad gently outward to avoid wrinkles, which can get in the way of lash placement.
Ensure all lower lashes are covered — even the tiny “baby lashes.”
Use Tape to Lift and Access Layers
After the pads are in place, use small strips of lash tape to gently lift the upper lid or pull lashes in different directions.
This gives you easier access to inner corners and lower lash layers.
Layering tape techniques makes isolation much faster and reduces strain on your hands.
Common Mistakes to Avoid
❌ Pads touching the waterline (causes irritation)
❌ Taping too tightly (creates discomfort or watery eyes)
❌ Missing small lower lashes (leads to “stickies”)
Double-Check Client Comfort
Always ask your client to close their eyes and let you know if they feel pinching, pulling, or pressure.
Pads and tape should feel secure but never uncomfortable.
Adjust as needed before you begin the lash application process.